FOR THE TEACHER
This Visual Arts curriculum aligned design task intends to develop year 7-8 learners’ ability to experiment with materials (VCAVAV035), explore and express ideas (VCAVAE033) (VCAVAE034), present and perform (VCAVAP037) and respond and interpret (VCAVAR038) as outlined in the Victorian Curriculum (VCAA, 2016), similarly following the guidelines of the Australian Curriculum V.9 (Australian Curriculum, n.d.) with students demonstrating the ability of ‘making and responding’ and engaging as both the artist and the audience as a student.
Furthermore, both teachers and learners are provided with visual guides of the specific teaching strategies that will be implemented throughout the lesson at each step indicating the High Impact Teaching Strategies (Victorian Department of Education, 2020) that will be implemented by the teacher throughout the task.
Throughout the learning task, teachers are able to draw on Marzano’s Six Steps to Effective Vocabulary Instruction (Marzano, 2020) relevant to the learning knowledge, and building upon prior student learning. Furthermore, Teachers should enact and utilise pedagogical approaches suitable to the 21st-century classroom (Churchill, 2022) with collaborative pedagogy to scaffold learners within the classroom while using ICT as a pedagogical tool for all learners.
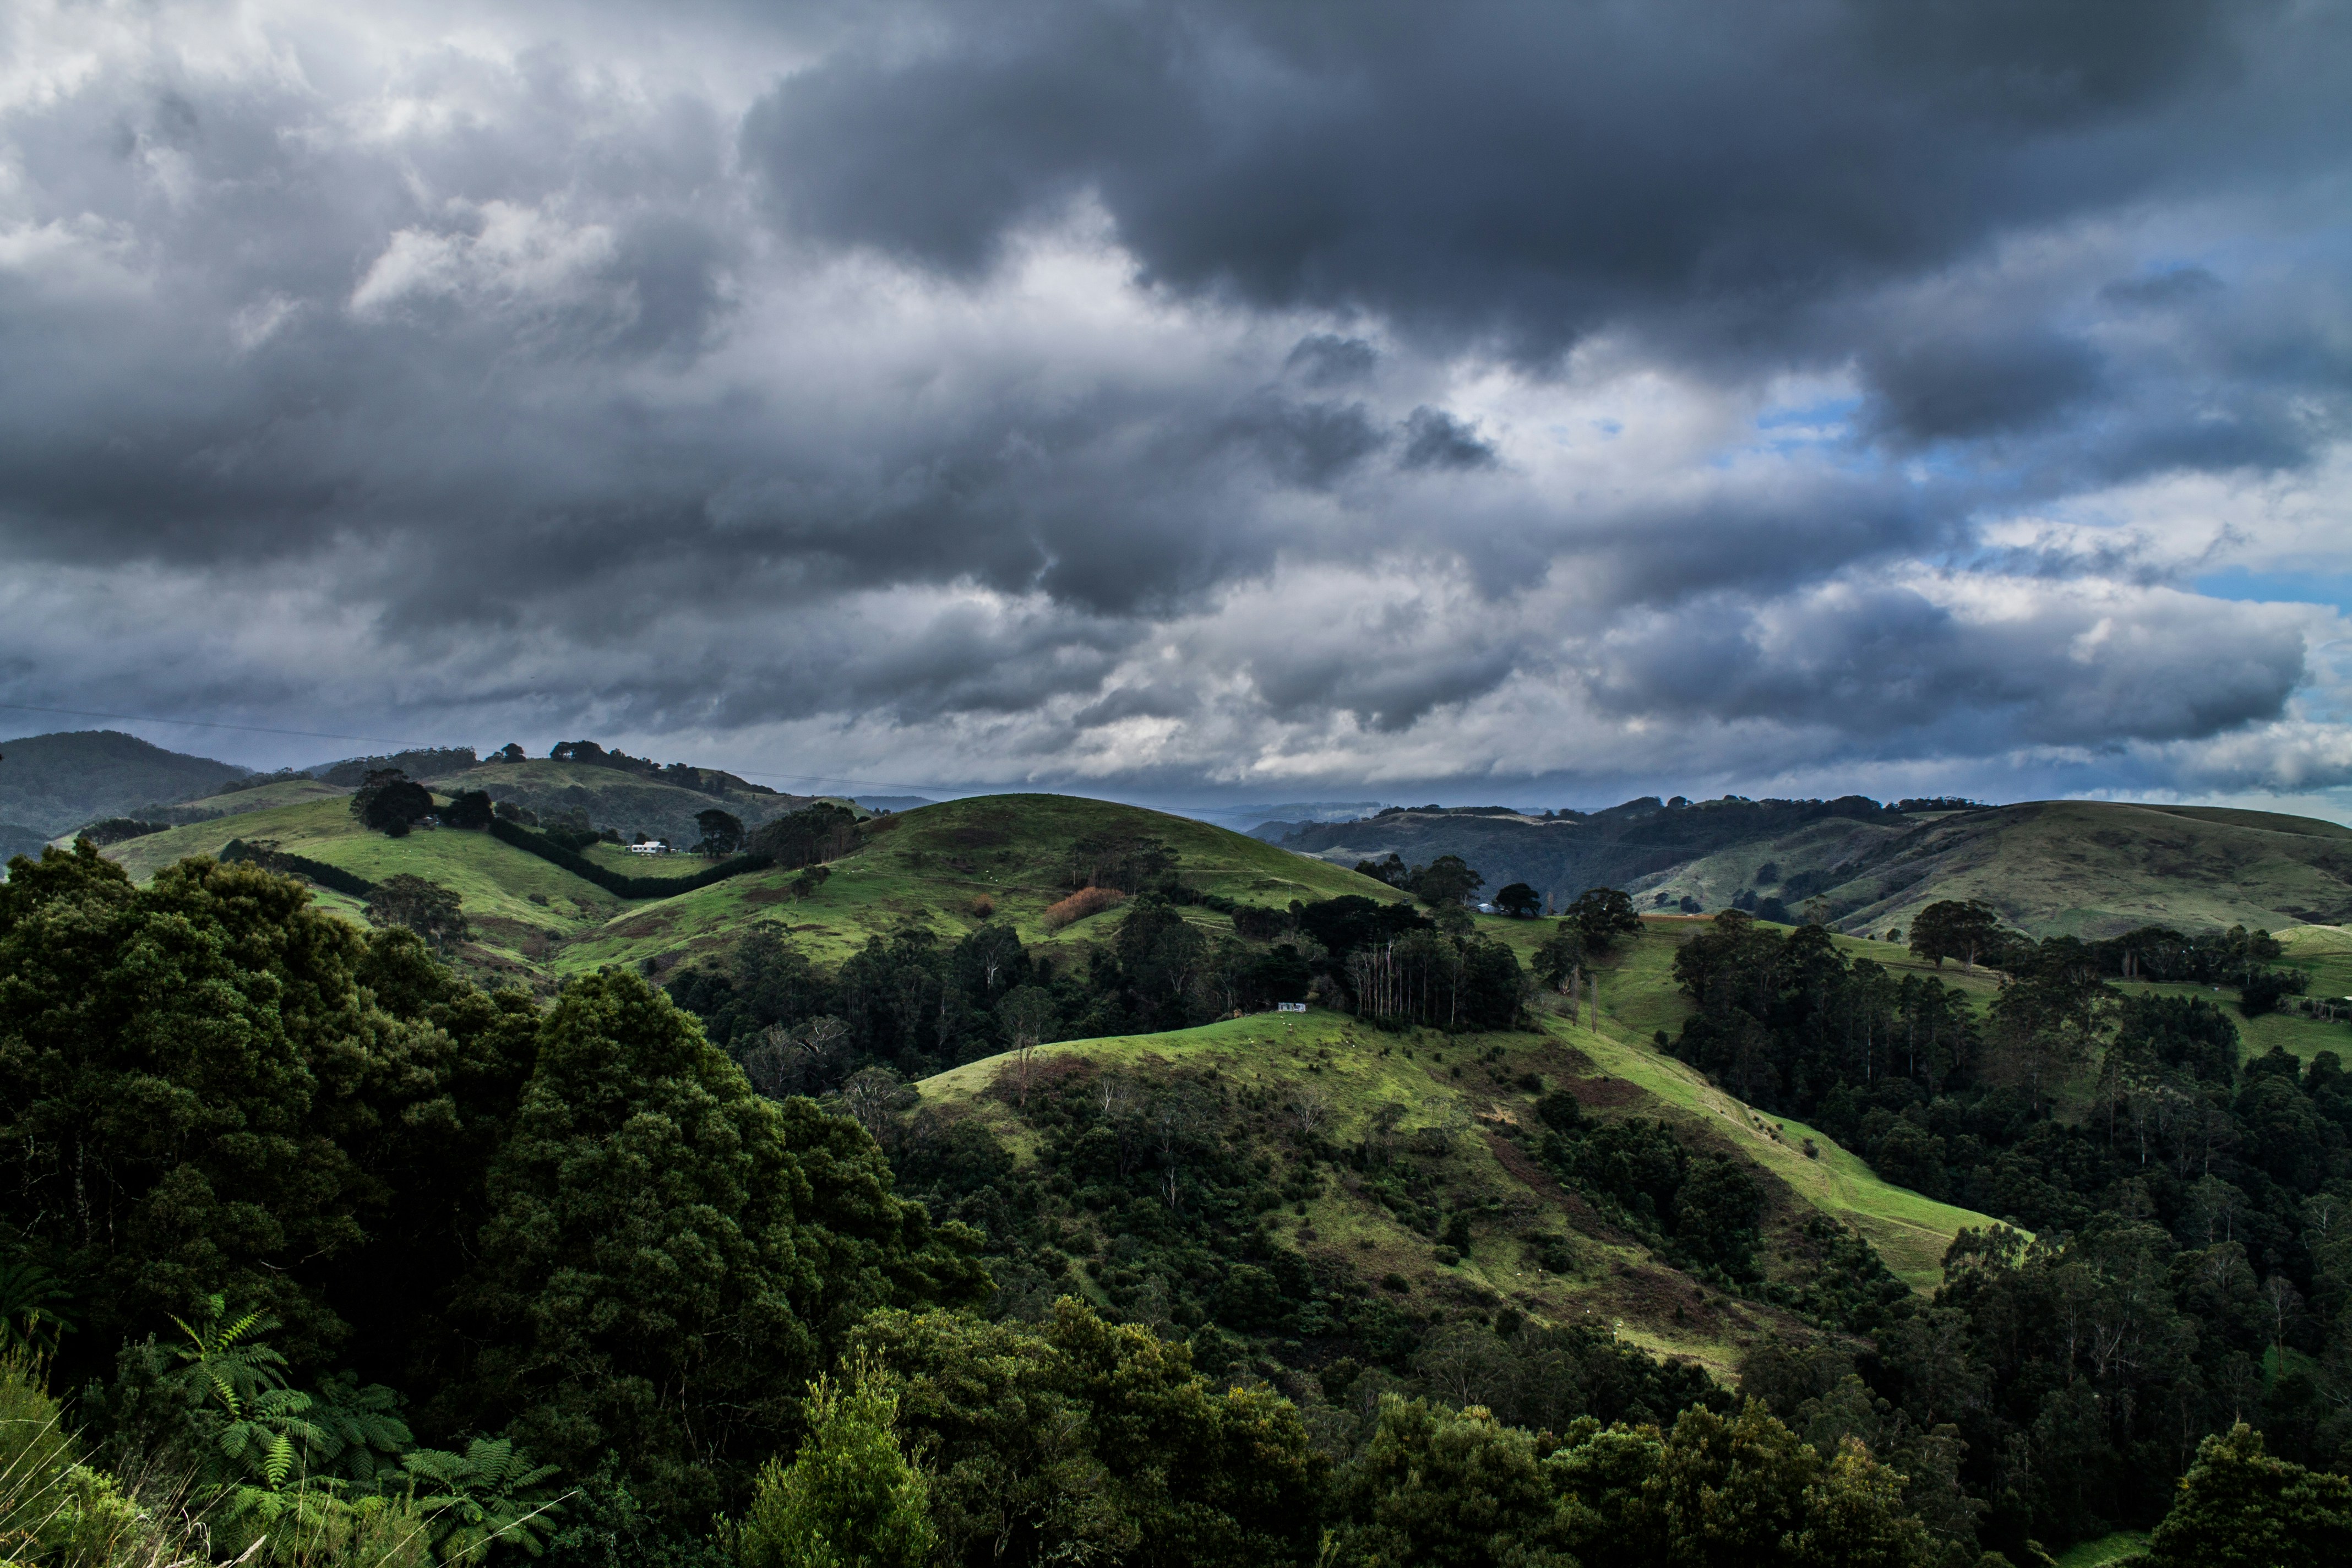
NATURAL ENVIRONMENT
- Setting Goals
- Structuring Lessons
- Explicit Teaching
Learning Intention
- We will make a piece of work that shows this understanding, using art elements and principles.
- We will understand how to create aesthetically pleasing artwork using different painting methods.
- We will understand how to give and receive constructive feedback
Success Criteria
- I know what a natural environment is and can represent it in my art, such as a landscape or scenery, using natural materials.
- I will apply this knowledge and use multiple painting methods to create a piece of work.
- I can use different art elements and principles effectively.
- I will follow safe painting practices in the art room.
- I can give and receive constructive feedback to my peers
VOCABULARY TASK
- Multiple Exposures
- Differentiated Teaching
ART ELEMENTS & PRINCIPLES
Powered By EmbedPress
Marzano (2020)
VOCABULARY KNOWLEDGE ACTIVITY
Test your knowledge (10 minutes)
Step 1: Select one focus term from our learning intention. “Art elements” or “Art principles”
Step 2: Describe what you think your chosen term is. There are no right or wrong answers.
Step 3: Create a drawing that describes your chosen term.
TIPS:
Art elements are the ingredients
Art Principles is the recipe
WHAT IS A NATURAL ENVIRONMENT?
- Questioning
- Metacognitive Strategies
TASK OUTLINE
- Structuring Lessons
- Explicit Teaching
- Multiple Exposures
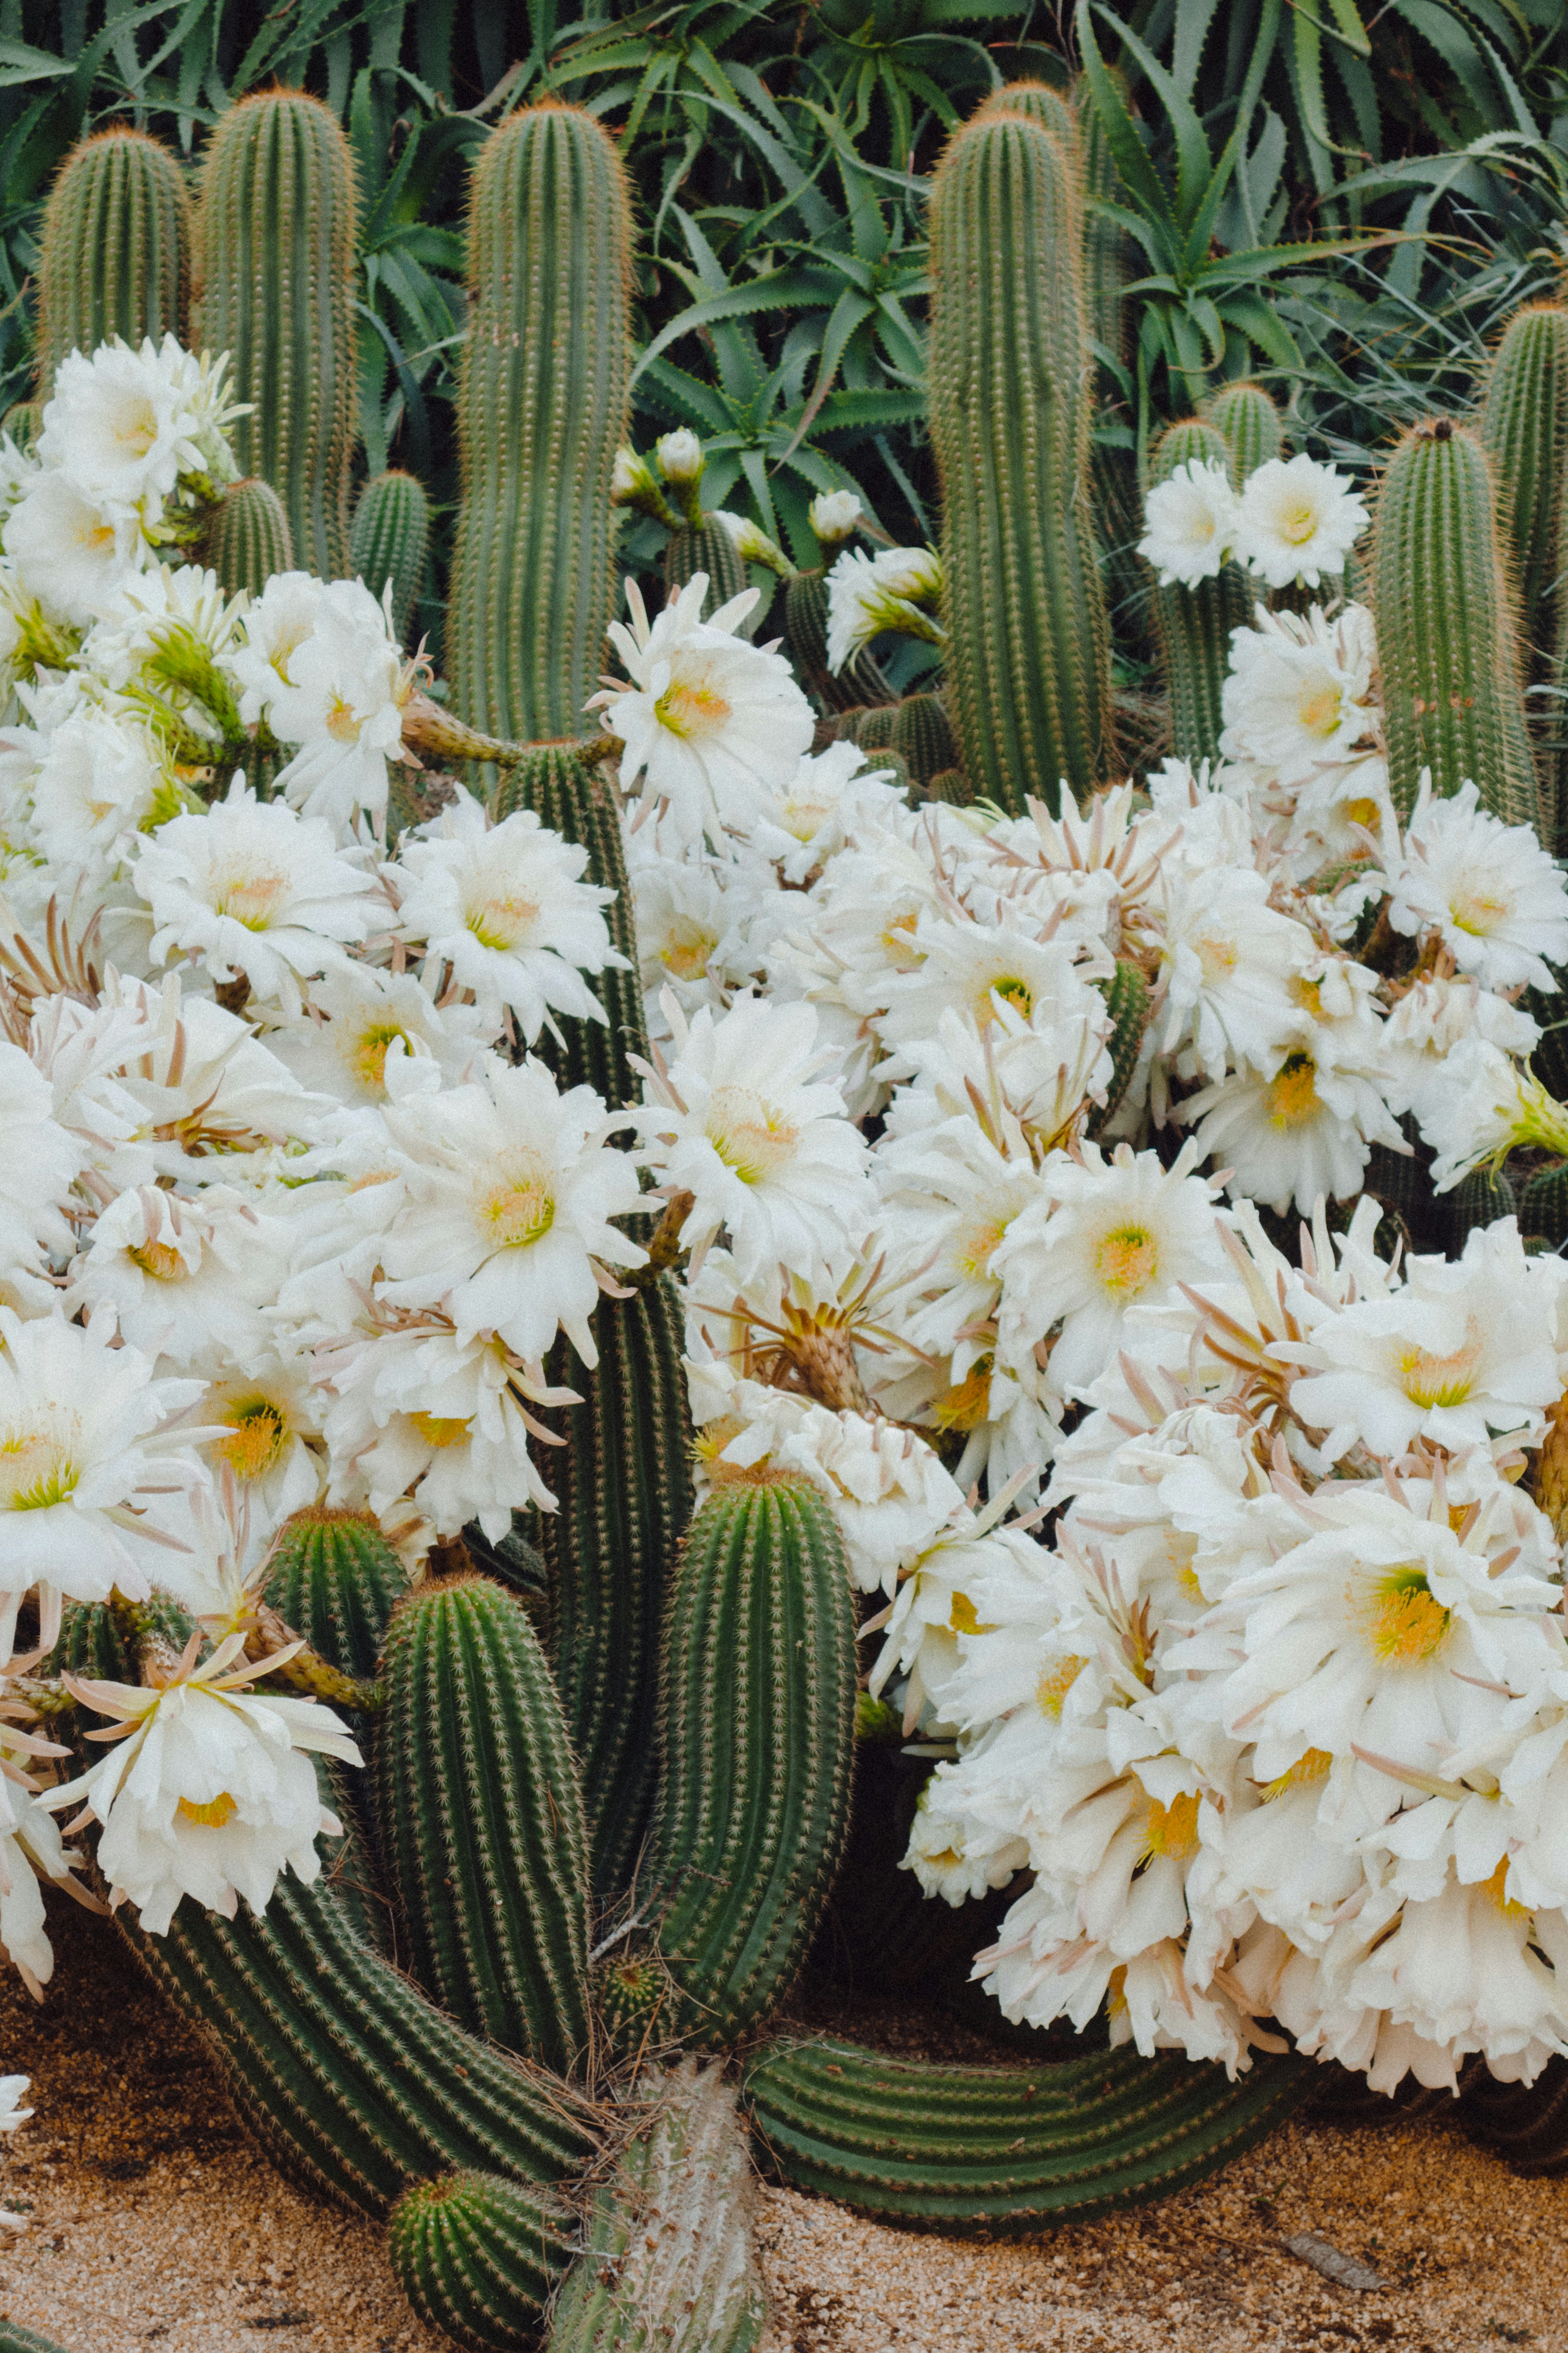
You will be creating an artwork that is a nature scene, you will be doing an Arizonan Landscape.
We will be using mixed-methods to create our artwork:
- Our background will be made of watercolour paint!
- Our cacti will be made with acrylic paint!
- Our cacti flowers will be made of paper!
What art style are we using? Fauvism
Fauvism is an art style that uses bright, unusual colours and simple shapes. It started in the early 1900s and focuses more on feelings than making things look real. Artists in this style enjoy using bold colours to express emotions.
What is our subject matter? Landscapes
Landscape art shows natural places like mountains, forests, and rivers. Artists can make their paintings look very real or more creative and dreamy. We are making ours look creative and dreamy.
BEFORE WE START
- Explicit Teaching
No splattering paint, keeping paint on the paint brush and paper.
Keep your hands and paint to yourself and your artwork.
No mixing paints unless you are making another colour.
Always wear an art smock and take off your blazer.
Devices are to be put away when painting.
No artwork should end up in the rubbish bin.
WATER COLOUR - SUNSET
- Structuring Lessons
- Explicit Teaching
- Worked Examples
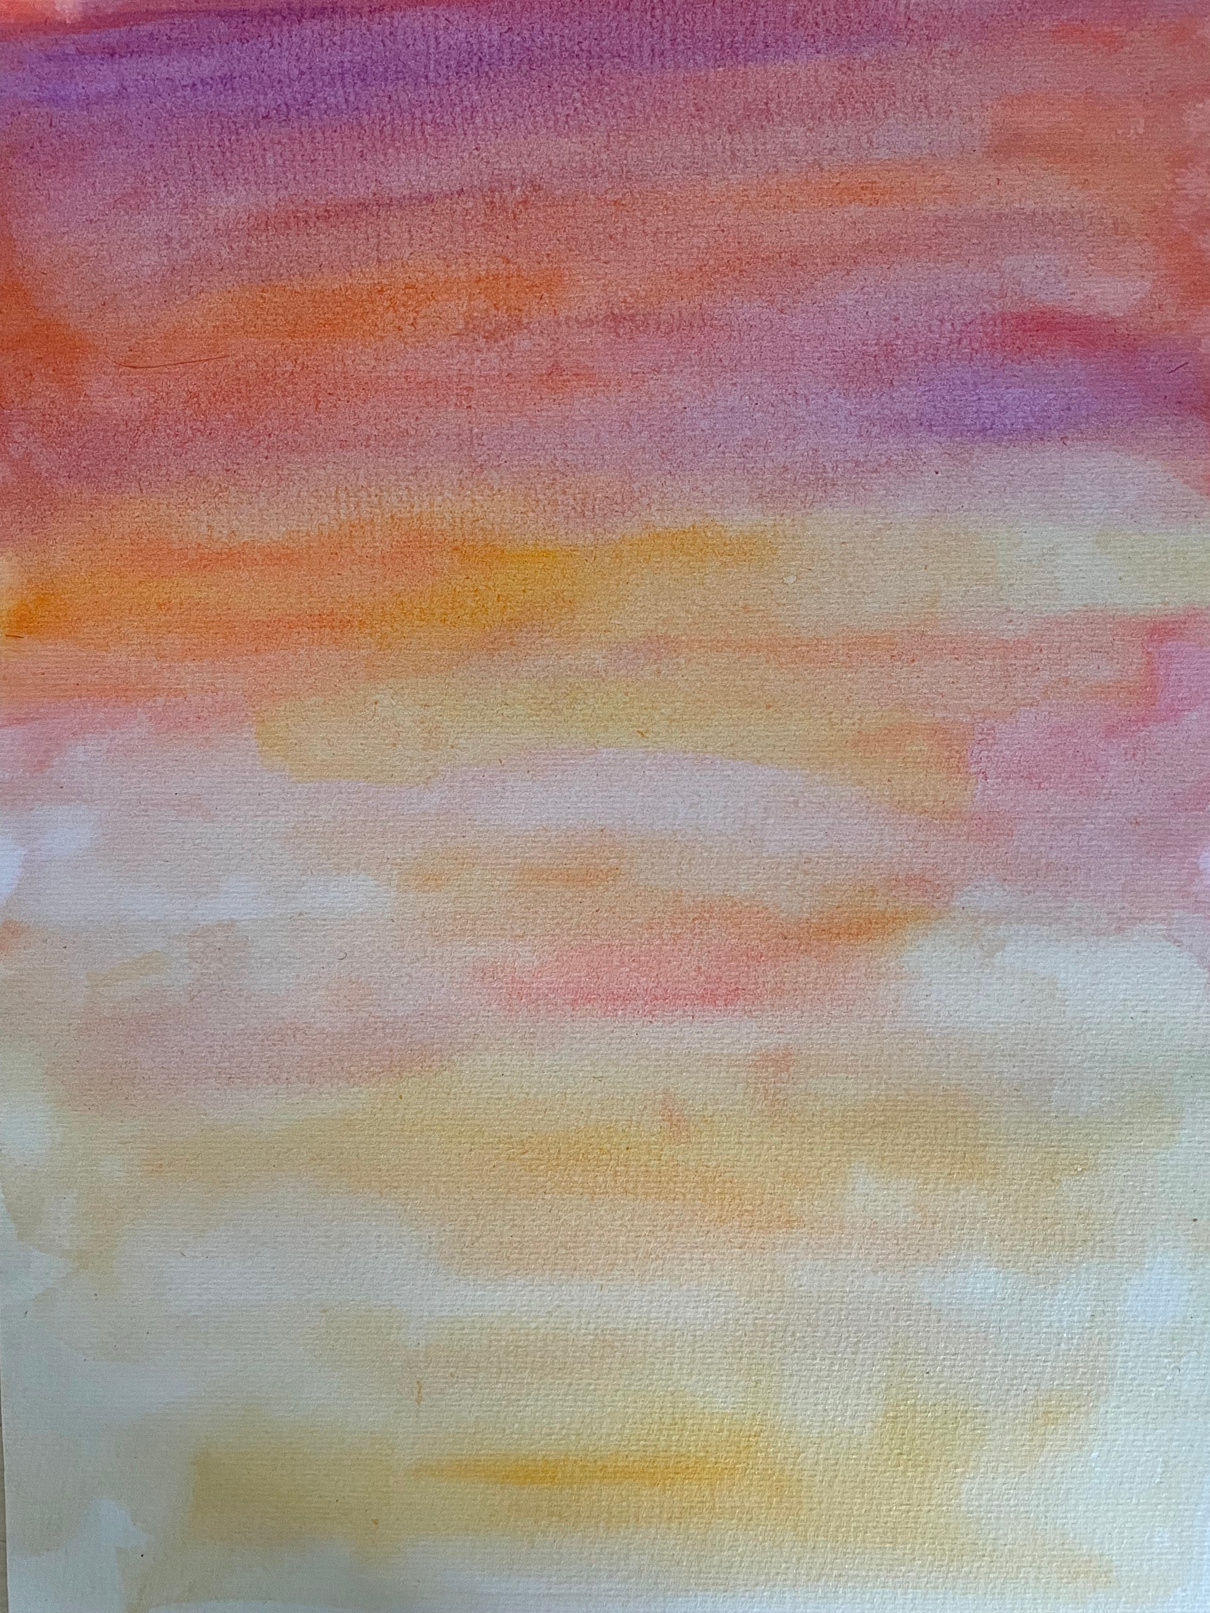
To start our Arizonan landscape, we need to create a warm coloured sunset with watercolour paint.
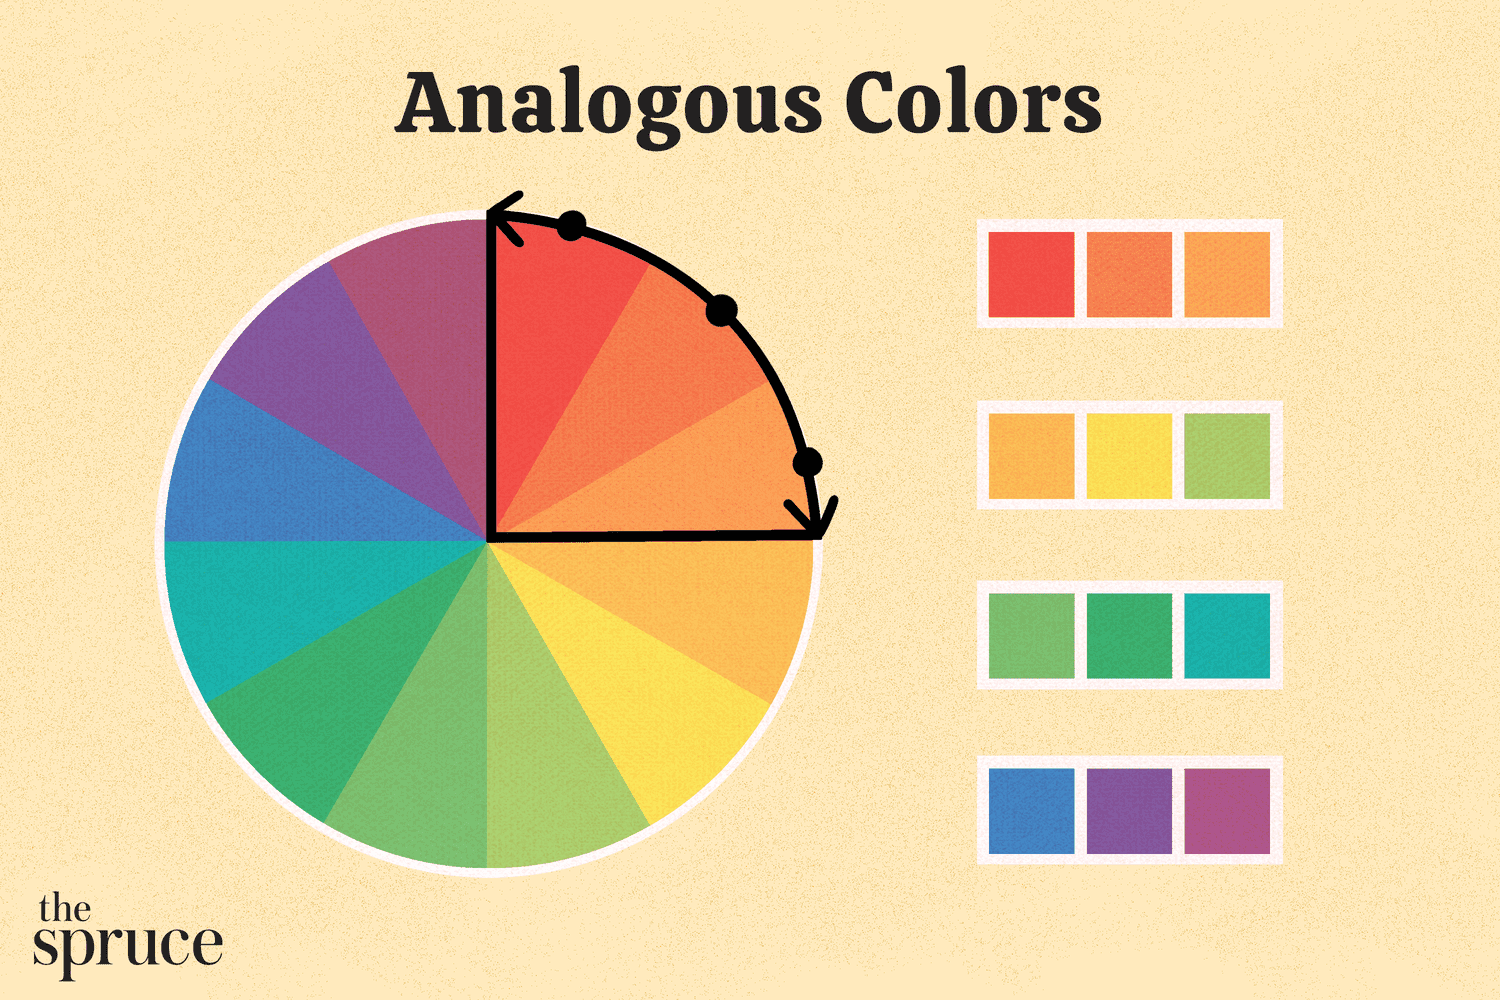
We need to blend pinks, purples, reds, oranges and yellows on the page. We will use Analogous colours for this.
The darker colours start at the top of the page and slowly blend to light yellow and orange at the bottom of the page.
Refer to the watercolour how-to PowerPoint!
Boyd (2025)
OUTLINE - CACTI
- Structuring Lessons
- Explicit Teaching
- Worked Examples
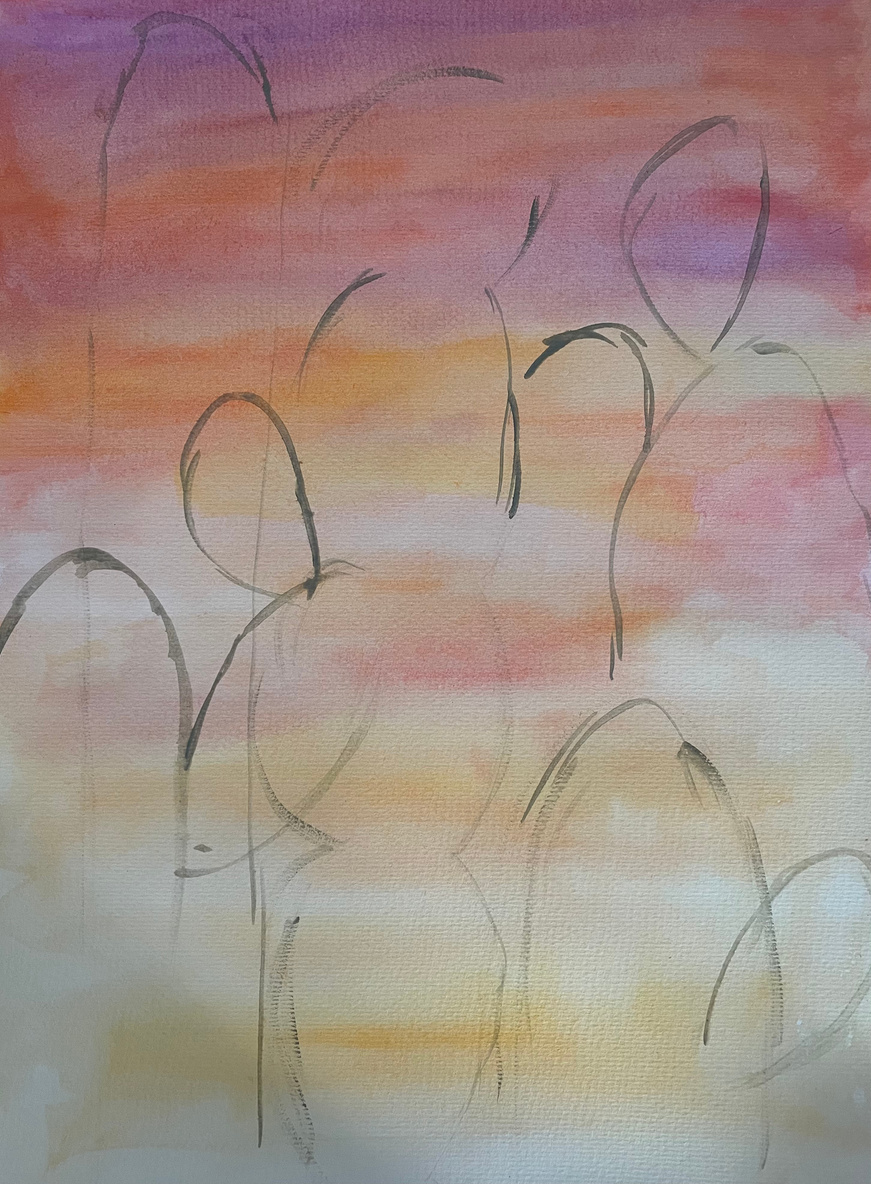
Once we have finished and dried the watercolour sunset background, we need to go in with a grey lead and start outlining where we want our cacti to go and what shapes they are going to be.
I have used black watercolour for this, but you can use grey lead pencil.
While your background is drying now is a good time to pack away your watercolour paint and reset your workspace.
Step 1:
Pack away your watercolour palette.
Step 2:
Clean your brushes in the sink and return them to the container that you found them in.
Step 3:
Wash your water container and leave in the sink to dry (upside down).
Step 4:
If your space is wet and dirty, wipe it down with paper towel and replace your newspaper.
ACRYLIC PAINT - COLOURING CACTI
- Structuring Lessons
- Explicit Teaching
- Worked Examples
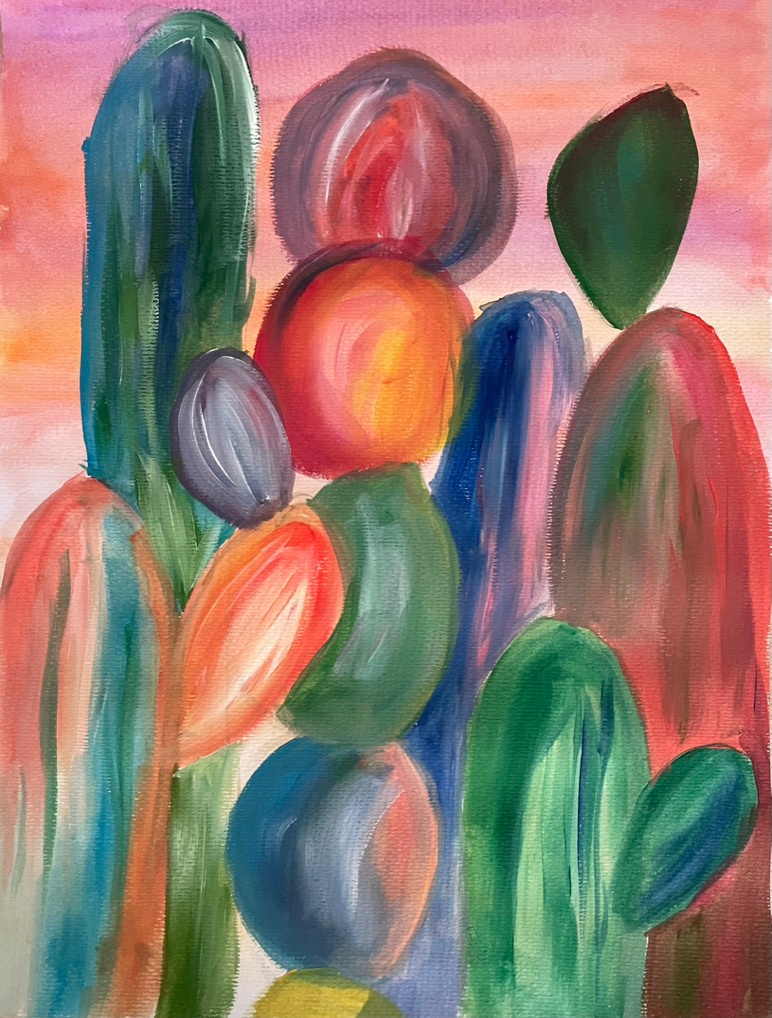
With acrylic paint we are going to start adding colour to our cacti, they aren’t going to be typical cacti colours, so we are going to blend different colours together to make abstract cacti.
Step 1:
Think about the colours you want to use for your cacti. You can use warm and cool colours to create a certain mood. You can also think about what colours work together, like we did for the background.
Step 2:
Add a small amount of your chosen colours to your palette, you do not need much, and you can always add more.
Step 3:
Add some highlights to your cacti by using a small amount of white paint, these highlights can represent light hitting the cacti
ADDING DETAIL - SPIKES
- Structuring Lessons
- Explicit Teaching
- Worked Examples
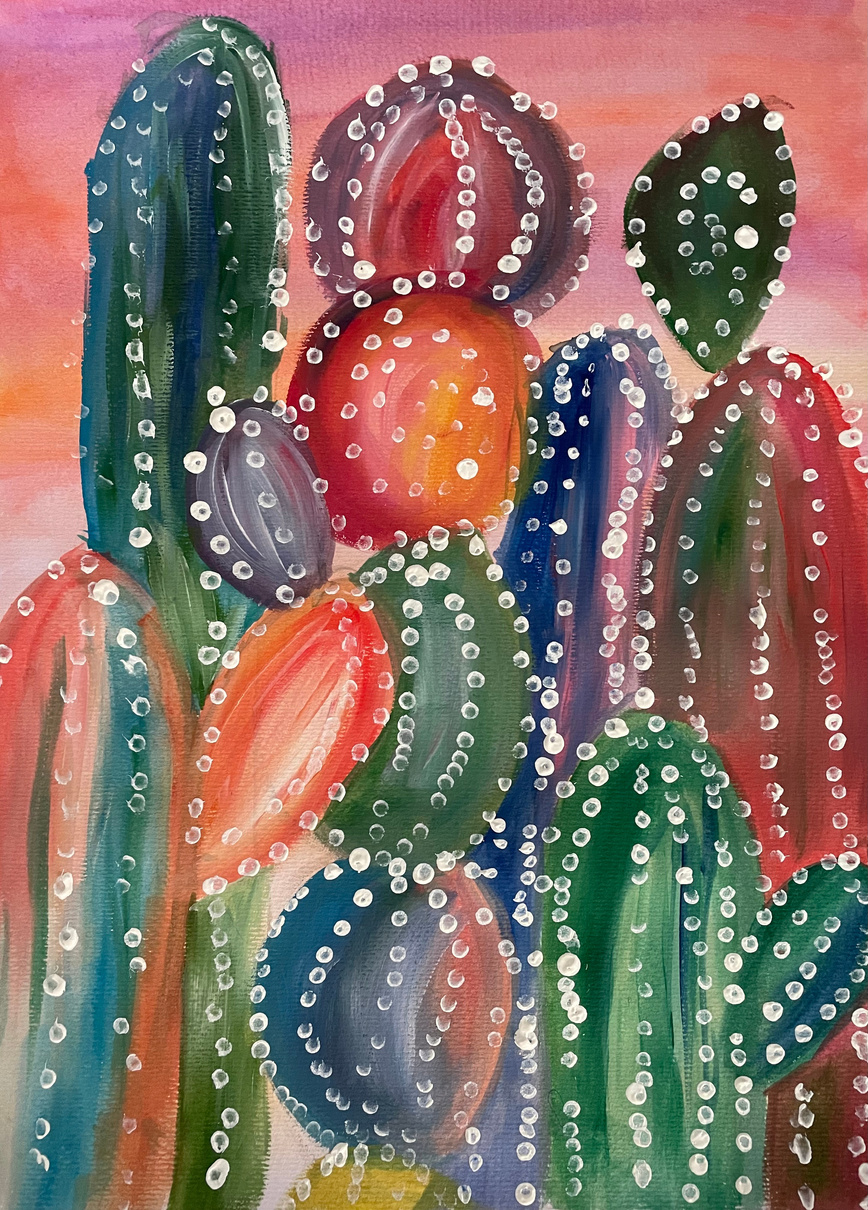
With a que tip we are going to add white dots along the cacti to show their spikes. We will follow the different blends of colours.
Step 1:
Dip your que tip into the white paint in your palette.
Step 2:
Think about where the spikes on a cactus might go… It could follow the outline of the shape and also go down the middle like the example I have made.
ORIGAMI - FLOWERS
- Structuring Lessons
- Explicit Teaching
- Worked Examples
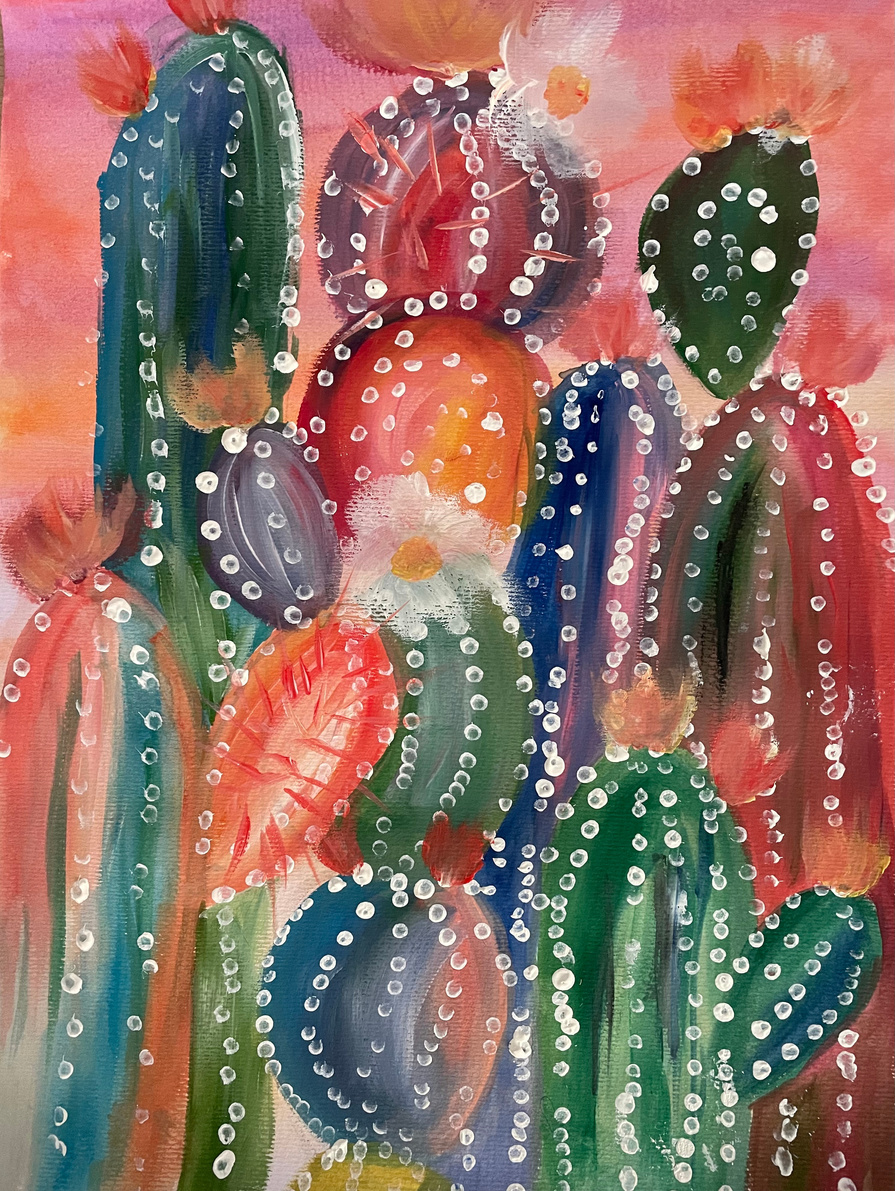
Once we have added detail we are going to add the final touches – flowers. We are going to create 3D origami paper flowers and stick them on to our landscape.
I have painted mine but will be adding paper flowers with you.
We will watch this video tutorial together and learn as a class. You will need to select some pre-cut colour paper to practice.
ART GALLERY - FEEDBACK
- Metacognitive Strategies
- Feedback
- Collaborative Learning
Now we are going to clean up our workspace and place our artwork on our table to create a classroom gallery!
Like every amazing artwork, we are going to critique it to provide constructive feedback to our peers and ourselves!
Before evaluation our own artwork, we are going to give our peers verbal feedback. Find a learning buddy and give them feedback based on the following prompts:
What elements and principles of art did your learning buddy use?
What emotion do you think your learning buddy is representing in their artwork?
TIME TO GIVE FEEDBACK
Now you have evaluated their work, it is time to provide some constructive feedback with a feedback burger!
Firstly congratulate your on buddy how they have made a good use of a specific art element or principle in their work.
Secondly say something your learning buddy could improve on, or think about next time. You can even give some advice to help them.
Finally, congratulate your learning buddy on how they have used their materials.

PERSONAL CRITIQUE
- Metacognitive Strategies
- Feedback
- Questioning
Time to evaluate your work in your Art Evaluation Workbook.
You can use the link here to access the editable Canva file,or download the PDF file on this page.
Make sure to photograph your artwork and upload it to your evaluation workbook and think about the following:
Describe: What materials did you use? What is in your artwork
Analyse: What elements and principles of art did you use
Interpret: How does this work of art make you feel? What emotions does your work represent?
Reflect: How could you improve or change your artwork? Could anything be improved?
Powered By EmbedPress
Boyd (2024)
REFERENCES
Victorian Department of Education and Training. (2020). HIGH IMPACT TEACHING STRATEGIES (HITS): Excellence in Teaching and Learning.

